In precision grinding, pursuing high-quality surfaces and stable dimensional accuracy are fundamental requirements. However, even when equipment and parameter settings seem normal, a particular defect – chatter marks – may still appear on the workpiece surface. Chatter marks are surface abnormalities caused by vibrations generated during grinding between the workpiece and the grinding wheel. They often present as sharp, intermittent wavy traces, not only affecting the appearance but also leading to a decline in machining accuracy and functional performance.
For operators and engineers, understanding the causes and identification methods of chatter marks, and effectively grasping countermeasures, is crucial for maintaining machining quality and extending equipment life.
This section will provide a systematic explanation of the characteristics, common causes, and solutions for chatter marks, assisting on-site personnel in quickly identifying problems and taking corresponding measures.
Table of Contents
What are Chatter Marks?
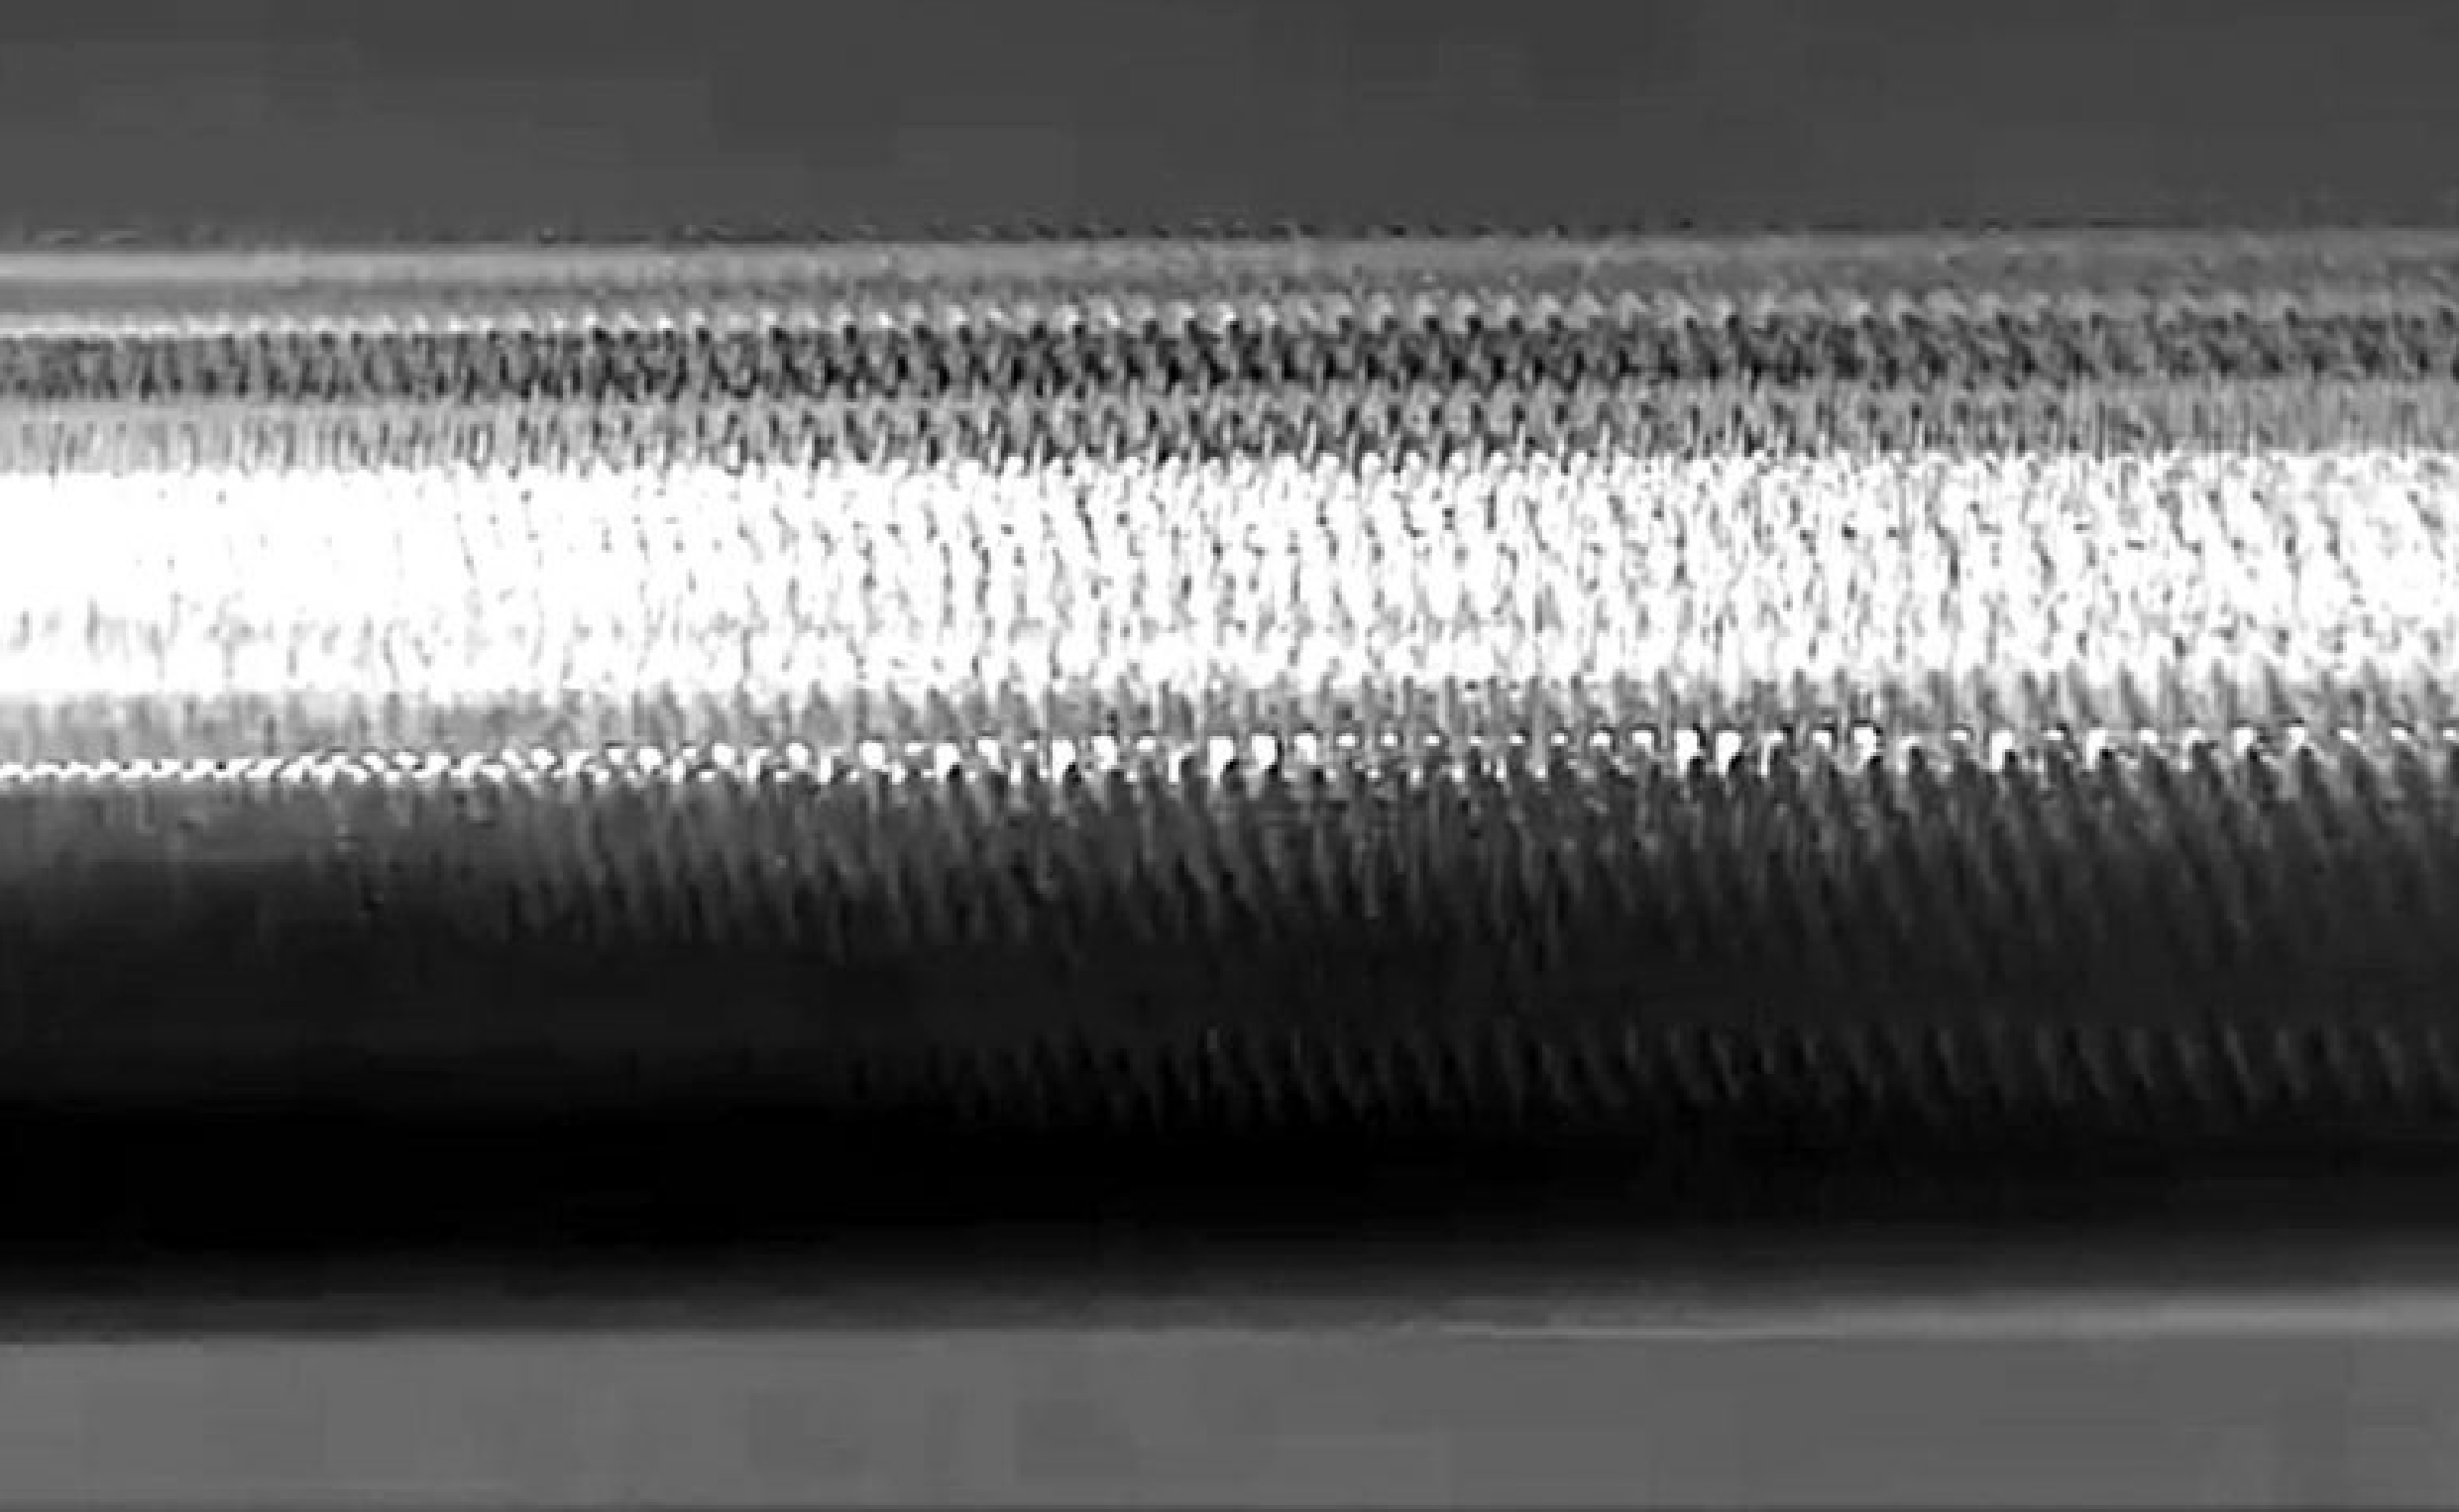
Chatter marks are surface traces caused by relative vibration between the workpiece and the grinding wheel. They are not ordinary machining marks but rather irregular, high-frequency wavy defects that often terminate with sharp lines.
Main Characteristics of Grinding Chatter Marks
- Not all parallel lines are chatter marks: Seemingly regular parallel lines on the surface do not necessarily indicate chatter marks; true chatter marks have specific characteristics.
- Terminate with sharp lines: Chatter marks often exhibit distinct, knife-cut-like sharp line endings, a feature that distinguishes them from other machining textures.
- Common cause is vibration: Unstable contact between the workpiece and the grinding wheel due to vibration may lead to brief separation or intermittent contact, thereby generating chatter marks.
Why Pay Attention to Grinding Chatter Marks?
Chatter marks are a common surface defect in grinding. The appearance of chatter marks can lead to:
- Poor surface roughness
- Decreased machining accuracy
- Unstable finished product quality
- Potential impact on subsequent assembly or function
Below, we will explain the common causes of chatter marks and their solutions to help readers identify and resolve the problem.
Causes and Solutions for Chatter Marks
Cause One: Excessive Grinding Infeed
One of the causes of chatter marks is an excessive infeed, especially when the workpiece is slender. This possibility is easy to identify and resolve.
Solutions for Excessive Grinding Infeed:
Reduce Infeed:
- Gradually decrease the depth of each grinding pass (e.g., adjust from 0.01 mm to 0.005 mm).
- Increase the number of passes instead of a large infeed to improve surface quality.
Check and Use a Stable Steady Rest:
- Slender workpieces must use a steady rest to improve machining stability.
- If already in use, please confirm:
- The position of the steady rest is correct (usually placed at the center 1/3 of the workpiece length).
- The pressure of the steady rest is appropriate.
- It has good contact with the workpiece surface (not too loose or too tight).
- There is no wear or looseness.
Cause Two: Grinding Wheel Too Hard
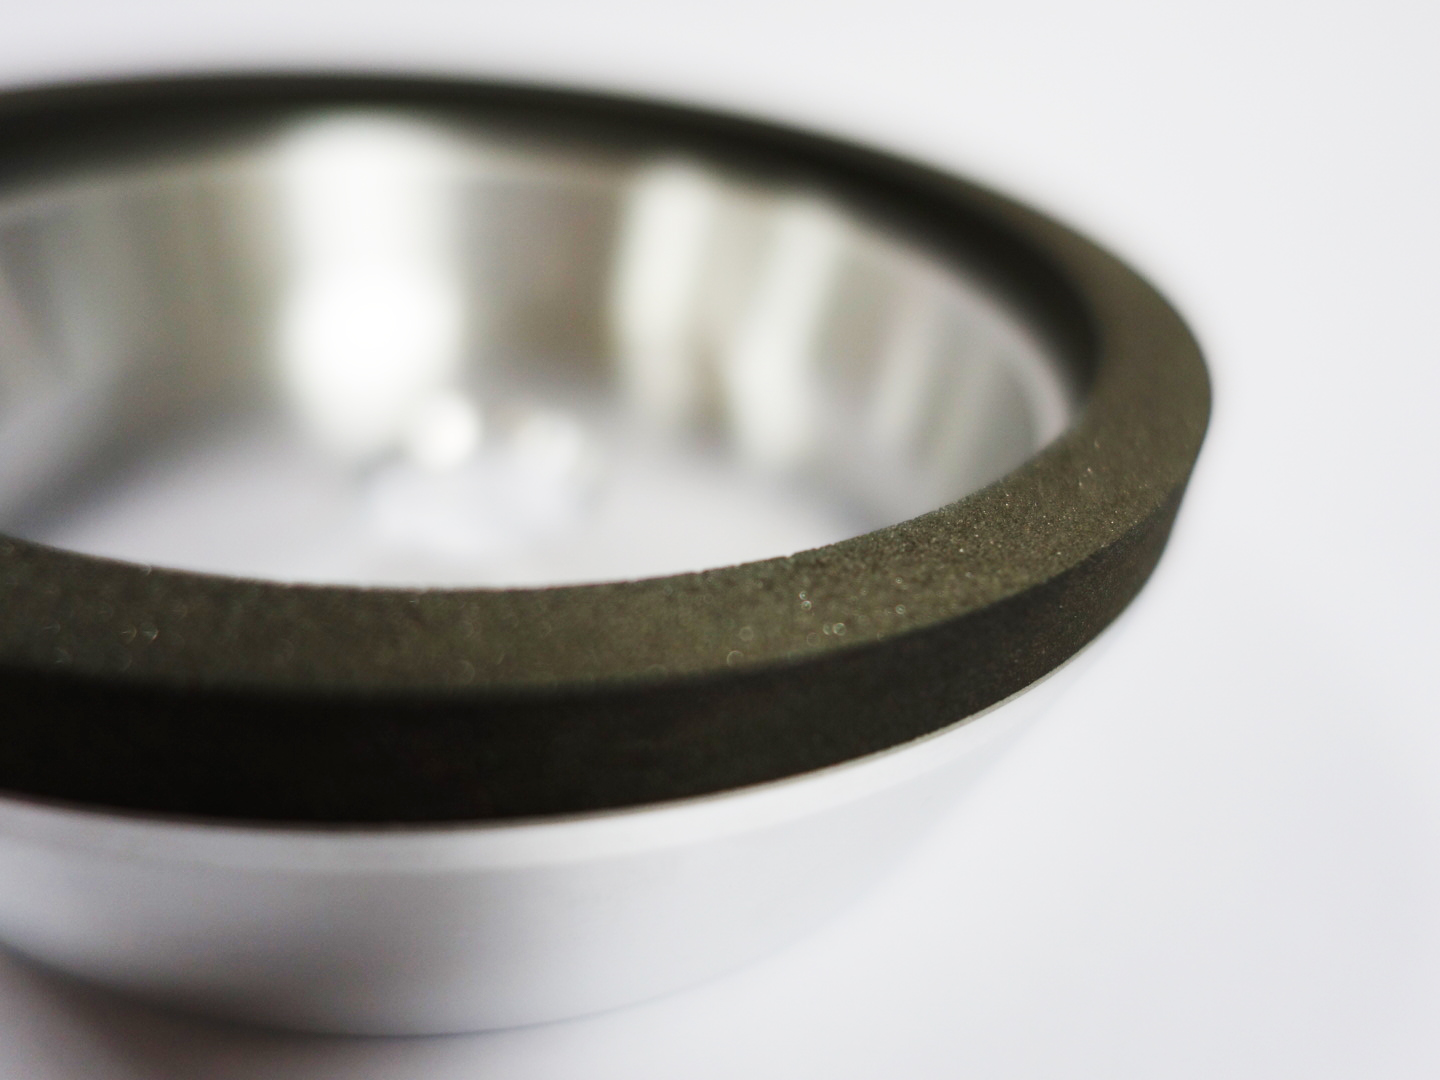
Chatter marks are prone to occur when the grinding wheel is too hard and the workpiece surface is subjected to compressive deformation, especially when grinding workpieces with poor elasticity or slender workpieces.
Solutions for When the Grinding Wheel is Too Hard
1. Fundamental Countermeasures:
- Replace with a softer grinding wheel (hardness grades J, L, N, P, R) or change the bond type.
2. Temporary Measures (if immediate wheel change is inconvenient):
- Increase Workpiece Speed: Increase the workpiece surface speed (Workpiece RPM) to reduce cutting pressure and vibration frequency.
- Use Coarser Dressing: Dress the grinding wheel coarser to improve its cutting performance and reduce contact friction.
- Reduce Grinding Wheel Speed: Lowering the grinding wheel RPM can reduce cutting force, helping to stabilize contact.
- Increase Grinding Fluid Mixture: Enhance lubrication and cooling to reduce thermal deformation and adhesion phenomena.
※ It is recommended to try any combination of three of the above items for each experiment to observe the improvement effect.
For example:
- You can first try the combination of “Use coarser dressing → Reduce grinding wheel speed → Increase workpiece speed.”
- If the effect is not good, then combine it with increasing the grinding fluid ratio or changing the lubrication method.
- If chatter marks are still severe, it is recommended to arrange a machine shutdown to replace the grinding wheel with one of appropriate hardness.
※ If you would like to replace the grinding wheel, we recommend that you provide us with the material of your current workpiece for evaluation so that we can recommend the most suitable option for you. If you don’t know how to provide the model number, you are welcome to contact our service personnel and send the grinding wheel to us for inspection.
Cause Three: Slender Workpiece Not Supported by a Stable Steady Rest
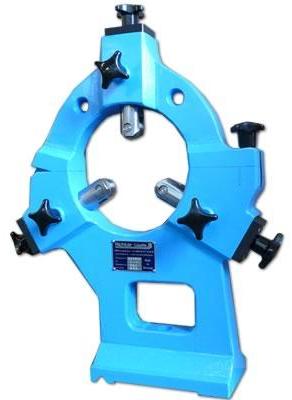
When slender workpieces undergo plunge grinding, the lack of support can easily lead to the generation of chatter marks.
Why Use a Steady Rest?
- Effectively improves workpiece rigidity.
- Absorbs and suppresses vibration.
- Maintains stable contact between the workpiece and the grinding wheel.
- Ensures dimensional accuracy and surface quality.
How to Use a Steady Rest:
| Usage Conditions | Consider using when the slenderness ratio (length / diameter) is large (≧ 3-5 times). |
| Number of Steady Rests | The number required (one or more) depends on the workpiece length and vibration conditions. |
| Placement Position | Usually positioned at the center or 1/3 of the workpiece length to distribute the force. |
| Steady Rest Adjustment | Ensure proper contact with the workpiece, avoiding being too tight or too loose, and also prevent wear or skew. |
※ Short, thick workpieces have better rigidity and are less prone to vibration, so the steady rest can be omitted depending on the situation.
※ Even with a steady rest in place, regular inspection and adjustment are necessary to prevent it from becoming ineffective.
Cause Four: External Vibration Transmitted to the Grinder
Even if the grinder’s own mechanism is in good condition, vibrations generated by surrounding equipment during operation can still be transmitted to the grinder, potentially causing micro-vibrations between the workpiece and the grinding wheel, leading to intermittent contact and inducing chatter marks.
(Micro-vibration → Causes intermittent contact → Induces chatter marks)
In grinders with a large swing diameter, when the workpiece and grinding wheel are suspended high above the support surface, they are very susceptible to external vibrations if there is no special foundation.
Method for Detecting External Vibration: The Water Cup Method
Step One: Stop the grinder from operating.
Step Two: Place a cup of water (a clear glass is best) on the grinding wheel spindle housing or a stable platform near the workpiece.
Step Three: Keep other equipment near the grinder running continuously.
Step Four: Observe the water surface ripples:
- If vibration ripples or slight shaking appear on the water surface → indicates external vibration is being transmitted.
- If the water surface is completely still → indicates environmental vibration is not significant.
※ Note: Large grinders and high-suspended structures (such as vertical and long-bed types) are more sensitive to foundation and external vibrations due to their high center of gravity and fewer support surfaces. If the foundation is not independently isolated, vibrations from equipment such as compressors, lathes, and cranes can easily be transmitted.
How to Prevent External Vibration from Transmitting to the Grinder
- Choose an independent foundation or anti-vibration pads when installing the grinder.
- If multiple pieces of equipment are placed side by side, consider adding vibration-absorbing pads or wall isolation.
- Regularly check for changes in external vibration using the water cup method (especially after relocating equipment or adding new machines).
Cause Five: Vibration from the Grinder Itself
Even without external interference, if the grinder itself has structural looseness, worn parts, or imbalance, it can also generate vibration, which in turn leads to chatter marks during grinding.
Inspection Method: Sequential Operation Check Method
Step One: Start each mechanism of the grinder separately in sequence, operating only one unit at a time, and observe for vibration: operate the grinding wheel spindle unit, headstock, pump, and table (during traverse grinding).
Step Two: Observe the source of vibration (can be combined with the water cup method, water surface reflection method, or tactile testing).
Step Three: This will identify the location of the problem, and then check the condition of rotating parts and improperly operating mechanisms.
※ Note: If vibration persists after checking all the above steps, it may be due to a hollow floor. You can purchase 6-10mm thick rubber pads from a hardware store and place them under the equipment’s feet (it is recommended to loosen the leveling screws), which can effectively dampen vibrations.
※ Supplementary station: As far as the floor is not solid, it cannot be said that it is a problem of ground processing quality, but the influence of material selection, and the solid plate will be more solid than the cement grouting, and the hollow floor is easy to resonate.
We can effectively distinguish whether the source of vibration comes from the grinder itself through the “sequential operation check method” and quickly locate suspicious units, which is an important means for equipment maintenance and troubleshooting.
Conclusion
Chatter marks are surface traces caused by relative vibration between the workpiece and the grinding wheel. They are not ordinary machining marks but rather irregular and high-frequency wavy defects, usually terminating with sharp lines. Chatter marks can lead to poor surface roughness, decreased machining accuracy, unstable finished product quality, and even affect subsequent assembly and function. Therefore, mastering the causes of chatter marks and taking corresponding countermeasures is crucial for improving grinding quality.
Common causes of chatter marks include excessive grinding infeed, a grinding wheel that is too hard, failure to use a stable steady rest to support slender workpieces, external vibration transmitted to the grinder, and vibration from the grinder itself. When the infeed is too large, especially for slender workpieces, chatter marks are likely to occur; a smaller infeed should be used in conjunction with a stable steady rest. If the grinding wheel is too hard, a softer grinding wheel can be replaced, or the grinding wheel speed can be temporarily reduced, the workpiece speed increased, coarser dressing used, or grinding fluid increased to improve the situation. Slender workpieces must use a steady rest, and its position and quantity should be appropriately configured according to the workpiece length and vibration level to ensure machining stability. In addition, external vibrations, such as those from compressors and cranes, can also be transmitted to the grinder through the floor. The water cup method can be used to check for vibration transmission, and anti-vibration measures can be taken. As for the grinder itself, problems such as looseness, wear, or poor balance can also generate vibration. It is recommended to use the sequential operation check method to find the source of vibration and repair the relevant mechanisms.
In conclusion, only by comprehensively examining and continuously improving the processing conditions, mechanical structure, and external environment can chatter marks be effectively prevented, grinding stability and finished product quality improved.
Action
- How to choose grinding wheel>>>How to Choose Between Diamond Wheels and CBN Wheels?
- Correctly understand the situation of grinding abnormality>>Causes of Grinding Abnormalities? How to Address Them?
- How to choose tools for cutting bonded grinding wheels>>How to Dress Grinding Wheels with Different Bond Type
- Is the current grinding wheel wear normally>>>What is the current status of the grinding wheel? – Electroplated Grinding Wheel Section
- How to dress a grinding wheel>>Grinding Wheel Dressing and Sharpening Methods
- Grinding wheel dressing in two stages>>What Are Truing and Dressing of Grinding Wheels?
- How to choose tools for cutting bonded grinding wheels>>How to Choose Grinding Wheel Dressing Tools
- Different grinding states of cutting edge>>In-depth understanding of grinding wheel cutting edge shapes, variations, and self-sharpening mechanisms
- What is the difference in the grinding of bonded grinding wheels?>>How to Dress Grinding Wheels with Different Bond Type
- What should I do if scratches and burns appear on the grinding surface?>>Scratches and Burns on the Ground Surface? Causes and Improvement Methods!
- Grinding anomalies such as wheel packing, smoothing and workpiece cracking>>Avoiding Grinding Wheel Clogging, Glazing, and Workpiece Cracking: Understanding Common Pitfalls and Improvement Solutions in Grinding
- What is bonding?>>What is Bonding Degree and How Do I Choose?
- Implement>>Diamond and boron nitride grinding wheels, polishing abrasives, polishing equipment, polishing tools, diamond dressing tools
- How to dress different bonding agents>>How to Dress Grinding Wheels with Different Bond Types
- Review
We offer customized adjustments to the grinding process, tailored to meet processing requirements for maximum efficiency.
After reading the content, if you still don’t know how to select the most suitable option,
Feel free to contact us and we will have specialist available to answer your questions.
If you need customized quotations, you’re also welcome to contact us.
Customer Service Hours: Monday to Friday 09:00~18:00 (GMT+8)
Phone: +8867 223 1058
If you have a subject that you want to know or a phone call that is not clear, you are welcome to send a private message to Facebook~~
Honway Facebook: https://www.facebook.com/honwaygroup
You may be interested in…
[wpb-random-posts]