電鑄砂輪

What is the current status of the grinding wheel? – Electroplated Grinding Wheel Section

Common issues with electroplated grinding wheels include normal wear, grain shedding, clogging, and abrasive dulling. Understanding these problems and their solutions is essential. This article also addresses frequently asked customer questions, such as the pros and cons of electroplated wheels, how to customize them, and how to choose between traditional and superhard wheels, offering useful insights.

金屬拋光 -鎢鋼

Guide to Repairing Metal Polishing Defects: Solutions to Common Problems and Recommendations for Quality Materials and Tools

Guide to Repairing Metal Polishing Defects: Solutions to Common Problems and Quality Materials and Tools Defects such as scratches, uneven roughness, oxidized spots, and lack of finish are commonly found in metal polishing and plastic polishing, which directly affects the quality of the products and the life of the molds. The article focuses on these problems and provides specific repair programs, such as the correct choice of polishing tools, control pressure and time, and timely cleaning of the surface. In addition, suitable polishing materials should be selected according to the characteristics of the mold to improve the polishing effect. Through continuous optimization of process and equipment updating, we can effectively reduce the production cost and improve the production efficiency to ensure the quality of the molds.
Translated with DeepL.com (free version)

優化晶圓研磨拋光過程中的應力控制

Optimizing Stress Control During Wafer Grinding and Polishing: A Practical Guide to Improving Semiconductor Manufacturing Quality

Stress issues in wafer grinding and polishing are critical to semiconductor manufacturing quality. Stresses originate from mechanical grinding, chemical mechanical polishing (CMP), and the properties of the wafer material, which can affect the surface flatness, roughness, and electrical properties of the wafer. To manage these stresses, improvements can be made by optimizing machining parameters, employing multi-step processes, local heating, and selecting the right supplier. Establishing standard operating procedures, regular training, and continuous improvement are all key strategies to improve production efficiency and product quality.

研磨-磨料介紹與代號

Grinding – Abrasives Introduction

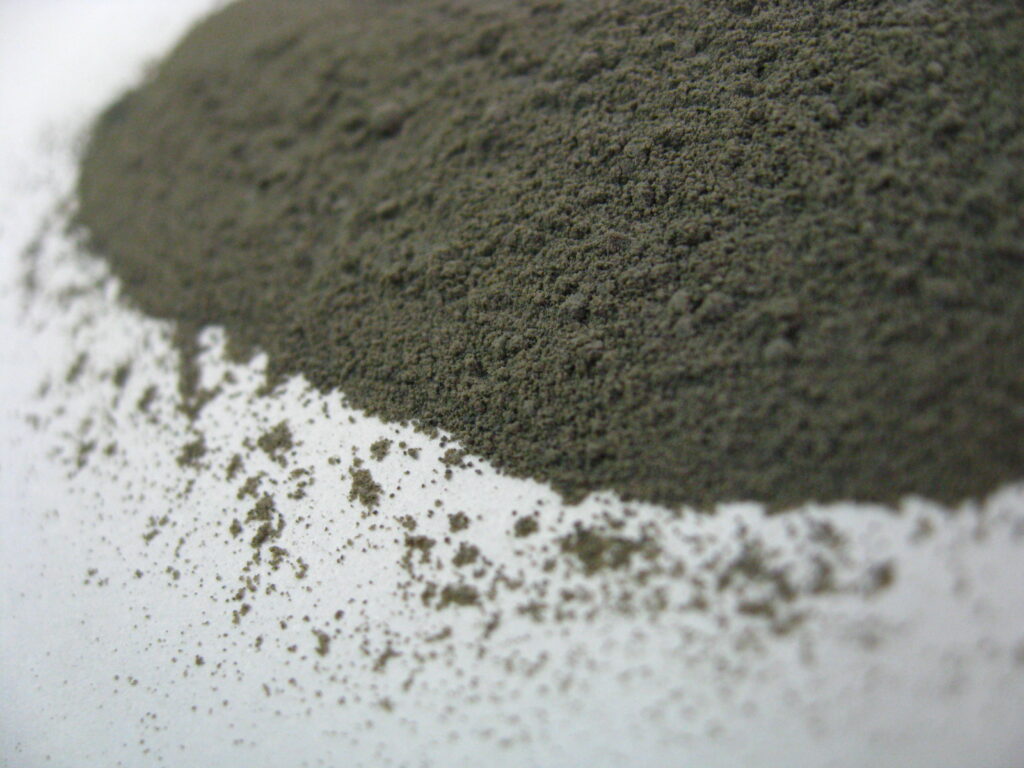
Essential Characteristics of Abrasives are: high hardness, toughness, chemical composition, thermal stability (strength), thermal stability (chemical stability), grain processing capability, mechanical strength, high grit size.
1. High Hardness: The hardness of the abrasive must be higher than the hardness of the workpiece.
2. Toughness: The ability to resist breaking under pressure or impact. Adequate toughness ensures that the micro-edges of the abrasive particles can perform cutting actions, and when dulled, they can create new cutting micro-edges.
3. Chemical Composition: The chemical composition of the abrasive reflects its quality and performance. The higher the purity, the better the properties. Aluminum oxide abrasives, for example, are categorized based on the content of aluminum oxide and impurities.
4. Thermal Stability (Strength): The abrasive must maintain its necessary physical and mechanical properties even at high temperatures, as the grinding zone temperature usually ranges from 400 to 1000°C.
5. Thermal Stability (Chemical Stability): The abrasive should be chemically stable, resistant to adhesion or diffusion reactions that could cause clogging or dulling of the tool.
6. Grain Processing Capability: The abrasive grains should be uniform, with a regular shape.
7. Mechanical Strength: Due to the repeated grinding forces, impact loads, and high grinding temperatures, the abrasive must have sufficient mechanical strength to withstand these effects.
8. High Grit Size: Abrasives should have a high grit size for effective material removal.

研磨拋光選用與表面粗糙度對照表

Comparison Chart of Grinding Polishing and Surface Roughness

In product manufacturing, surface quality is a critical factor. Surface roughness refers to the tiny irregularities on a surface that affect functionality and durability, while smoothness describes the degree of surface flatness and light reflection. Roughness impacts gloss; the rougher the surface, the lower the gloss. To improve gloss, polishing materials are often used to remove minor irregularities, achieving a smoother surface. Understanding these concepts and effectively controlling roughness and gloss is key to ensuring high product quality, enhancing both performance and appearance.

RA與SA的差異

Differences Between RA and SA

RA (Roughness Average) and SA (Surface Area) are two measurement indicators of surface roughness. RA is the most commonly used two-dimensional roughness parameter, evaluating surface smoothness by calculating the arithmetic mean of the absolute deviations of all points on the surface profile line from the reference line over the measured length. It is typically used for roughness detection on flat surfaces. On the other hand, SA is a three-dimensional surface roughness indicator that takes into account the height variations and other features of the surface profile. It is often used for more complex surface analyses, such as high-precision manufacturing or optical surface treatments. SA provides a more comprehensive view of surface roughness, making it suitable for applications that require detailed three-dimensional data.

物理拋光 成功去除鏡片刮痕

Physical Polishing Successfully Removes Lens Scratches

We have a special approach for unique lenses. There are many options for lens polishing. But achieving true scratch removal requires aareful consideration. Choosing the wrong method can result in: 1. deepened scratches on the lens, 2. new scratches. This can complicate subsequent processes. – – For Honway, we are grateful for our clients’ trust. …

Physical Polishing Successfully Removes Lens Scratches Read More »

What is surface roughness?

“Surface roughness” plays a crucial role in engineering and manufacturing. Surface roughness describes the smoothness of a surface, which affects various aspects of workpiece characteristics such as airtightness, mating performance, rigidity, and more. Unlike “surface flatness,” surface roughness measures the degree of surface irregularities, making it especially important for parts that require precise fitting or contact. Understanding the need to pursue “appropriate surface roughness” rather than extreme smoothness is essential to meet different application requirements.

Scroll to Top